Wednesday, May 9, 2018

Incandescent light bulb effect simulated with a microcontroller and LEDs

Last year, I received this marquee sign as a gift:


What do we have?

A beautiful marquee sign: simply constructed on a real metal frame, printed cardboard with printed rust, printed screw holes and such for aged-tin effect. It looks fairly realistic and pleasant to the eye.


A very nice detail I found are these mock-up light bulbs ,made of a small glass bulb screwed on top of a standard warm white LED:


A small switch on the side closes the circuit delivering 3v from two AA batteries located on the back, allowing all of these leds to turn on simultaneously. It's nice to see it lit, but there is room for a small project.

Room for improvement:

This sign is crying for enhanced simulation, so this project will consist of:

1) Adding a sequence for the bulbs just like the real deal.

and

2) LEDs bright up instantly, and there's no nostalgia in that. Instead, let's emulate the slow paced filament / tungsten / incandescent effect of vintage light bulbs.

This whole project was influenced by real marquee signs such as the one below


some of you may recognize this sign.

Solution:

This is a relatively simple microcontroller project, so let's get it done:

Requires cutting the original connections and rewire them to the PWM pins on the arduino.
The pins you choose NEED to be PWM if you want to simulate the filament effect.

I wired each letter individually and treated the bowling pin as an individual, (the LEDs on the bowling pin are in parallel).


The original battery holder was also replaced by a holder for two 18650 type batteries. These will deliver 8v but the voltage regulator on the Arduino nano takes care of the excess voltage.

The light bulb effect:

There is a way of achieving this with an analog circuit (more on that here), but I went for a software solution since the Arduino board was already in.

So here's my gift to you people: How to accurately simulate a lightbulb by means of applied science.

It's not a matter of slowly turning a led on or off in a linear fashion, no: that doesn't look natural nor responds to the way the I-V curve of a light bulb behaves in real life.

If you want a more realistic approach, you should go for an exponential equation that looks like this:


The blue line represents the turning on phase, and the red one when the led shuts down.

To accomplish this, you may use an equation of the form:

Source: Now defunct website math24.net, 1st order differential equations.


In this case Lmax is equal to 255 since PWM on the atmega 328 fluctuates between 0 and 255.
I chose k = 0.02 to shape the curve to my liking, and M=0 (M being the resulting value of L(t) when t=0)

The equation looks like this when coded in C or Process and the aforementioned values are applied:

led_intensity = 255-((255-0)*exp(-0.02*t));

...where the function exp(x) means e to the power of x.

And voilá, the project is finished and the sign is much more fun to watch now.


This animation above does not reflect the incandescence effect, but you get the idea. Try the code and play with it!


Sound effect bonus:
You may have noticed that the Arduino nano sits on top of a green PCB. This is because I may decide to add a 5v mini relay and have it click every time a bulb turns on or off. Then the effect will be complete, by emulating the clicking sound of vintage marquee signs.


Code:


/// June 2017Marquee Bowling sign with Tungsten filament lightbulb simulation using LEDS

// Pin number definition follows
// These all need to be PWM pins, so that explains the choice for 3,5,6,9 and 11.

#define B_lamp 3  
#define O_lamp 5
#define W_lamp 6
#define L_lamp 9
#define BOWLINGPIN_lamps 11

#define max_illumination 110  // Up to 255, this defines the maximum illumination you want
// multiple lamps in parallel require an extra for extra current so we need to compensate for that
// otherwise the letters on the sign will glow brighter than the bowling pin
#define max_illumination_for_bowling_pin 255  
#define pausa 1000
#define filament_simulation 1500  // This parameter allows your lamps to turn on an off quicker or slower depending on the type of light bulb and voltage you are simulating.

// the setup function runs once when you press reset or power the board
void setup() 
{
  // Serial.begin(9600);  // This is for debugging purposes, disabled by default. 
  // initialize digital pins
  pinMode(B_lamp, OUTPUT);
  pinMode(O_lamp, OUTPUT);
  pinMode(W_lamp, OUTPUT);
  pinMode(L_lamp, OUTPUT);
  pinMode(BOWLINGPIN_lamps, OUTPUT);
}

// the loop function runs over and over again forever
void loop() 
{
  // Program the sequence you like. This is the one I chose.
  turn_on(B_lamp);
  delay(pausa);
  turn_on(O_lamp);
  delay(pausa);
  turn_on(W_lamp);
  delay(pausa);
  turn_on(L_lamp);
  delay(pausa);
  blink_bowlingpin();
  delay(pausa*3);
  turn_off(B_lamp);
  delay(pausa);
  turn_off(O_lamp);
  delay(pausa);
  turn_off(W_lamp);
  delay(pausa);
  turn_off(L_lamp);
  delay(pausa);
  turn_off(BOWLINGPIN_lamps);
  delay(pausa*2);
}


void turn_on(int lamp)
{
  int maximum = max_illumination; if (lamp==BOWLINGPIN_lamps) maximum = max_illumination_for_bowling_pin;  
  // Now we initiate the slow glow effect
  for(int tungsten=0 ; tungsten <= 200 ; tungsten++)
    {
      float level = 255-((255-0)*exp(-0.02*tungsten));  // This is what really matters: an exponential equation for realistic light bulb simulation, not that linear rubbish.
      level = map(level,0,251,0,maximum);  // Remap the maximum to the desired level.
      analogWrite(lamp, level); // PWM comes to save the day, that's why we analogWrite
      delayMicroseconds(filament_simulation);  // How fast or slow you want your bulbs to be
      //Serial.print(tungsten);Serial.print(";");Serial.println(level);  //This is for debugging only.
    }
}

void turn_off(int lamp)
{
  int maximum = max_illumination; 
  if (lamp==BOWLINGPIN_lamps) maximum = max_illumination_for_bowling_pin; 
  for(int tungsten=0; tungsten <= 200 ; tungsten++)
    {
      float level = 251-(255-((255-0)*exp(-0.02*tungsten)));  // The same curve, in the opposite direction
      level = map(level,0,251,0,maximum);
      analogWrite(lamp, level); 
      delayMicroseconds(filament_simulation/2);
      //Serial.print(tungsten);Serial.print(";");Serial.println(level);
    }
}

// Now some blinking to catch the eye of the distracted driver on the road and get them into our bowling business

void blink_bowlingpin() 
{
  for (int blink=0; blink <3 ;blink++)
  {
    turn_on(BOWLINGPIN_lamps);
    delay(pausa/2);
    turn_off(BOWLINGPIN_lamps);
    delay(pausa/2);
  }
  turn_on(BOWLINGPIN_lamps);
}

Wednesday, September 23, 2015

Illuminate your Space Shuttle the way it deserves


This particular project somehow embodies three of the things that amaze me the most: Electronics, Space Exploration (particularly the STS since I watched the first Columbia launch live on TV back in 1981) and yes: Lego.

I acquired this set (# 10231) very recently without really understanding why didn't I get it when it first came out but anyway, this gorgeous Shuttle finally decorates my home office and it's staying.

One of the first things I thought after playing with it was "wouldn't it be cool if..."


Okay you get the idea, now to the project.

The implementation is simple and I executed it in two hours: Add LEDs to the spotlights of the set while adding a nice feature: have them power up automatically whenever there's no enough ambient light for an incredibly cool effect.

First thing was to figure out a simple circuit and for that Internet can be your friend:


Thanks to the people at Build Circuit Australia

This circuit senses ambient light with the phototransistor and if it gets dark, it fires up the LEDs.
Power consumption when idle is 0.9mA and when fully lit is 1.4mA.

The reason why this circuit draws current when idle is because that in the presence of light (or IR light) Q3 turns on and current will flow through it, and through the Base-Emitter junction of Q1.

When Dark both Q3 and Q1 are turned off. R1 then takes control, exciting the base of Q2, turning the LED on as a consequence.

I changed several resistor values here in order to make it work the way I wanted. I also used PN2222A NPN transistors just because I had those laying around. So feel free to play around with these values until it works the way you want.

Some soldering, I added a switch for MECO (that's NASA terminology I feel like using for this post).


Batteries on the flip side:


Prepare the MLP (more NASA terminology for you to find out in case you are not already familiarized) and modify accordingly for it to receive the new circuit and power supply:


Here you can see it fits right between the SRB underneath the stack. The added circuit remains invisible to the spectator.


Now the trickiest part, yet still fairly easy to accomplish: Fit the LEDs. I used isolated fine copper wire from an inductive charger. You can find this type of wire in an old transformer as well.


Done.

And done. The wire is barely visible, and I use some Lego parts to hide it further. The cables go straight to and behind the TSMs and then routed to the circuit board.


Finished Project. You can see I'm using my hand to shadow the phototransistor for this particular test:


View from behind:


End result. Whenever it gets dark, the Shuttle remains visible.

Enjoy!!!!!


Tuesday, October 7, 2014

Retrobright your R2-D2

Yellowed R2-D2?


This R2 unit was acquired from some jawas who came by my house a long time ago...

So long ago, that its shell yellowed from the effects of the UV and its 12+ years of ownership.

This is the Hasbro voice command R2 unit, made of plastic..

Since the yellowing is caused primarily by the bromine present in the flame retardant the manufacturer adds to the ABS plastic, I thought of actually reversing the yellowing process instead of painting R2.

This can be accomplished with a mix called Retr0bright.

These are the preliminary results after day 1:


Left: 10:30am.   Right: 6:00pm after brushing it with Retrobright and direct UV from sunlight.


The results are impressive to say the least. The yellowing does not go away completely but I am very satisfied with the improvement. Texture of the plastic was not affected in any way, although the blue paint got some stains that I think I can fix with polishing with some cloth.

Skills required:


- Disassembly skills and (screwdrivers+patience). There's an instructive video on how to disassemble R2.


- Soldering skills. Quite a bit, yes. In order to truly separate all the plastic from electronics, you need to de-solder some of the wiring. And you want to truly separate plastic because you will need washing, brushing, painting, rinsing your droid. Attempting this on an assembled model will be MUCH harder.

Inside R2.


Detail of motor circuit being de-soldered.


Ultra-Violet (UV) exposure for 7 hours


Get it done:


1.- Check the weather forecast and ensure a full sunny day if that is possible at your location.
2.- Lay your plastic parts as separate to each other as you can, so they don't shadow themselves.
3.- Put on your gloves and goggles and prepare a Retr0brite mix. 1/3 of a cereal bowl should do. It will seem too much at first but you will be re-applying many times throughout the day until you deplete your dose.
4.- Paint a layer over the yellow. Try to avoid paint and stickers but if you paint over them there won't be substantial damage to the paint so no need to be perfect.
5.- Leave it there for two hours and re-apply as soon as you see it's drying out. Rinse your latex gloves with water every time, then remove them from your hands.
6.- Let the sun do its magic.
7.- Go to step 5 until sunset.
8.- Rinse your plastic parts one by one and use a brush to ensure mechanical removal. Don't ever remove your gloves nor your goggles.
9.- Repeat another day if needed. 
10.- Sell it to the same Jawas for double the price.  

WARNING:


This project is not for kids. Maybe not even for adults (if you happen to have another droid to do this for you, have HIM do it.)

The reason being that Hydrogen Peroxide at this concentration can SEVERELY BURN YOUR SKIN or BLIND YOU FOR GOOD.

I used latex gloves at all times, and while rinsing the plastic with a brush I accidentally sprayed some of the substance straight to my eyes. I was wearing eye protection, however I experienced some burning on my face out of oxidative stress on skin, to a point it hurts and whitened the surface of the skin.

USE IT AT YOUR OWN RISK AND WEAR EYE AND HAND PROTECTION AT ALL TIMES


Sunday, April 13, 2014

Lower the volume on your Fluke Multimeter in ten minutes (or less).

Industrial multimeters are not designed for your quiet and peaceful electronics lab. They are designed for industrial, loud environments.


That said, testing continuity with a Fluke 87V at an electronics workbench can be quite annoying, reason why I decided to lower its volume a little using a simple, quick and reversible method.

Adding a 4.7k Ohm resistor in series with the buzzer will do the trick, setting your volume at a pleasant level.


Open your DMM and this is what you will find: The piezo buzzer contacts the board with springs to these pads shown here:


What you will see now is the back cover, where the buzzer lives. The two springs at the bottom are (-) and the one at the top is (+).
Just fold the leg of your resistor around the (+) spring and raise the other leg RIGHT ON TOP of the spring like this:


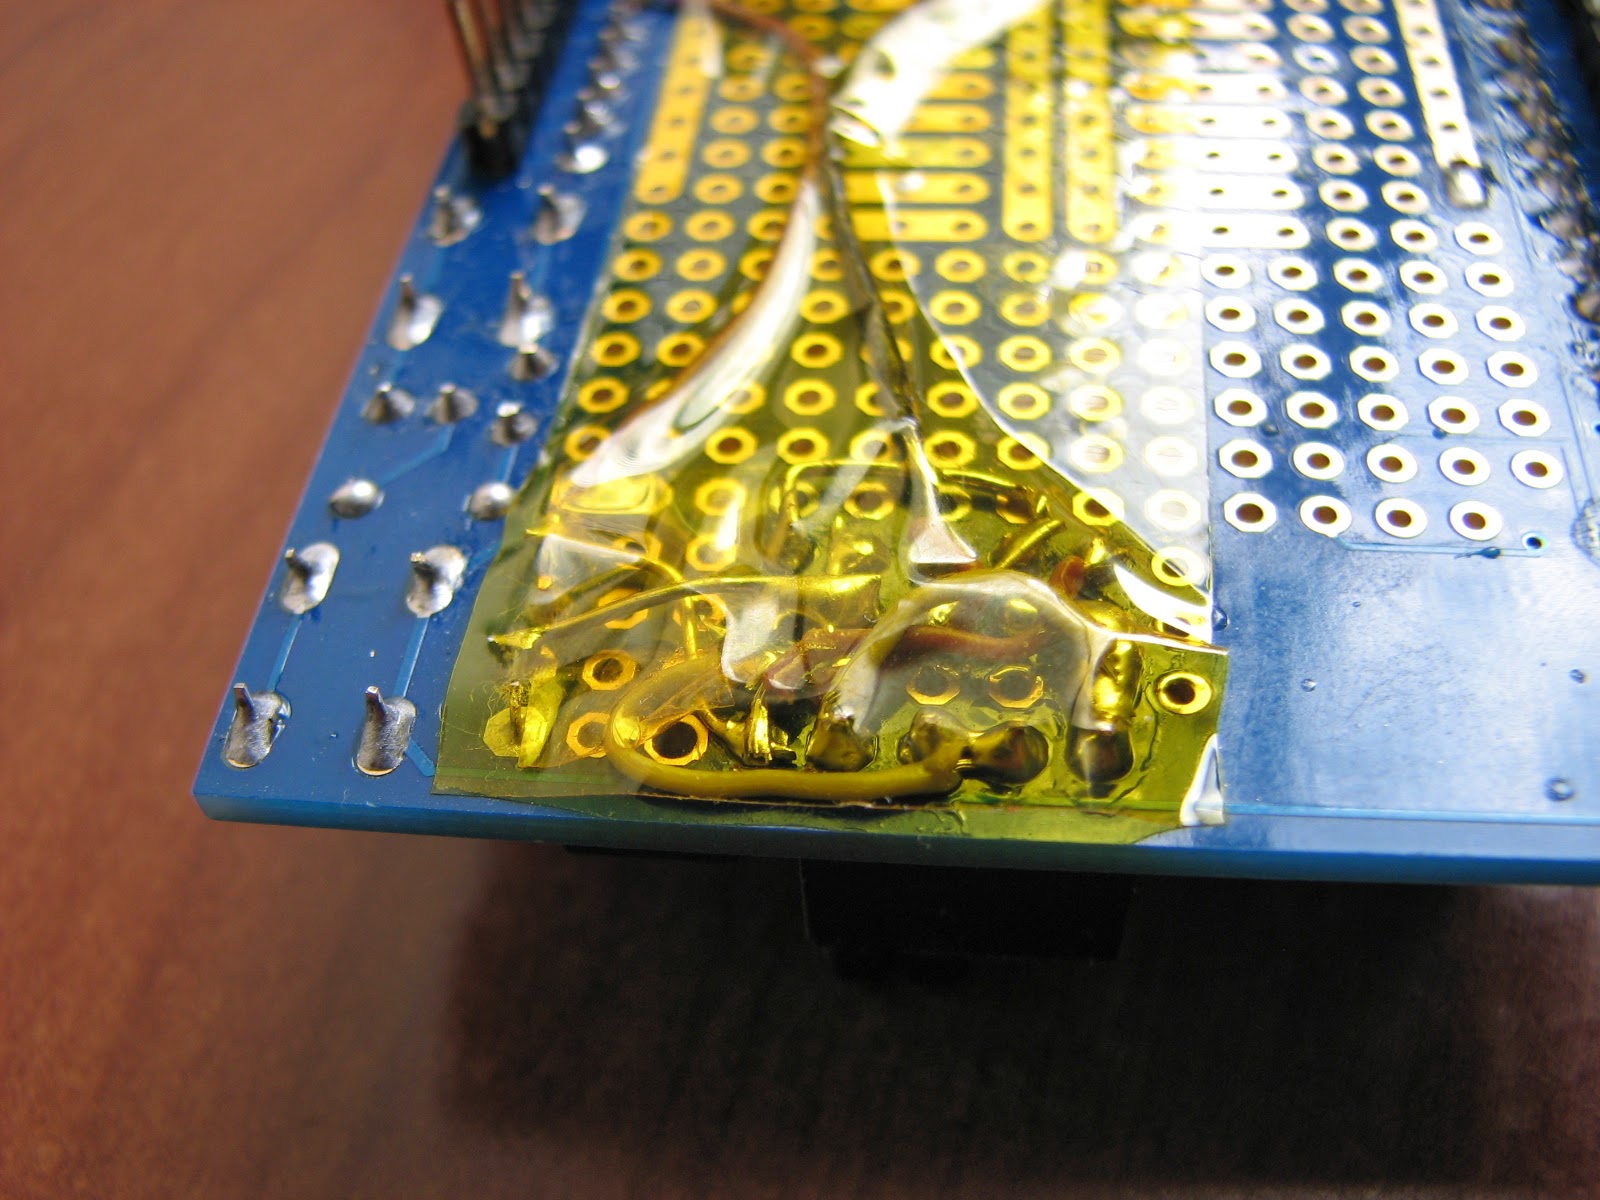
Then isolate both the resistor AND the spring with tape. I used Kapton tape as seen here:


Make your final adjustments so the resistor led lays right on top of the little spring. This leg will make final contact with the pad on the main board of your DMM.


Add another tape to on top of the larger portion of the resistor leg and leave the tip uncovered.

Close the cover gently and test your meter.

Done!  If you are fast with your screwdriver, this literally takes two minutes. But take your time...
Best of all, this is 100% reversible, with no permanent modifications to your DMM.

Note: You may have noticed that some photos show 10K resistor while other photos show 4.7K. That's because I started with 10K but then realized volume was too low. 4.7K seems to be perfect for my needs.

Friday, March 28, 2014

Quick LED tester for your Protoshield


Why build this project:


1) Because it's an LED tester on your proto shield that doesn't mind orientation. Ideal for quickly testing a suspicious LED or checking the color on a transparent LED.

2) Arduino independent, it's based in the 555 bi-polar LED driver, so it doesn't interfere with any of your Arduino pins or code.

3) Because it's easy and affordable way of learning how a 555 works.

How to build this project:

It goes like this:


Use this build as a learning experience on the 555!


What happens at the LED side?

Look at the diagram above. Let's imagine you have two LEDs, one GREEN, one RED connected just as above. Commonly referred to as Vcc, the supply voltage can range between 5V and 15V. In this example, we will use 9V.

1) Simply put, we are connecting the left leg of the LED to the output pin (3), which oscillates between 0V and the supply voltage (Well, actually the supply voltage minus 1.7V so it's around 7.3V in this case. Refer to the 555 timer wikipedia article for details.)

2) The other leg of your LED (the one on the right) is connected to the resistor divider, which divides the 9V. So only 4.5V are present at that leg.

3) As a consequence of step 2 above, when pin (3) his HIGH, your LED sees a potential difference of 4.5V, and when (3) is LOW, it sees a potential difference of -4.5V and BAM! That's why the current alternates in both directions allowing you to place LEDs in any orientation.

Note: Since I usually feed my Arduinos with 12V, I replaced the two 220 Ohm resistors for 290 Ohm in order to reduce the power consumption of the resistor divider to less than 1/4W. This impacts consumption but the voltage divider still divides to 4.5V.


OK, got it. Now, what happens at the capacitor/resistor side?


1) The combination of the Cap and the resistor produces a delayed charge and discharge of the capacitor. The very same output pin (3) we use to drive the LED is used here to both charge the capacitor when output is HIGH and discharge it when the output is LOW.

2) Both inputs of the 555 Trigger (Pin2) and Threshold (Pin 6) are shorted together, which leaves us with a single input that reads the voltage at the capacitor.

3) Remeber that in this example we are feeding the circuit with 9V. Whenever the input reads below 3V from the capacitor, it will turn the output HIGH, turning the green LED ON. At the same time, the capacitor begins to charge, slowly rising the voltage at the input pin (2 and 6).

4) As soon as this rising voltage gets above 6V, it will reset the 555, setting the output to LOW which activates the red LED, and at the same time it begins to discharge the capacitor, which will eventually get to below 3V, leaving us at step 3 again.

So, why are these boundaries at 3 and 6 volts?


Because I used 9V as an example for feeding the circuit. 3V and 6V are 1/3 and 2/3 of 9V respectively.
If I had used 12V to feed my circuit, boundaries would have been 4V and 8V respectively because it's always 1/3 and 2/3 of the supplied voltage.

Can I make them blink quicker or slower?


Of course you can. Check out these great resources:

1.- HyperPhysics at Georgia State University - A simple tool for calculating time to charge/discharge your capacitor.
2.- Wikipedia - RC time constant

Top view:


Bottom view:


Finally, if you want to see some of my other mods for the Proto Shield, click here.

Friday, February 28, 2014

Moody Tubes - Vacuum tubes to set your mood!

This is an ornament made of old vacuum tubes and some basic electronics including LEDs, Arduino and resistors.


Features:

- Three tubes which slowly change colors.
- Integrated battery meter. Right after power up, it measures its own battery level and shows the level by graduating one of the tubes from Green(full) to Red(needs recharging). If at any point battery goes below threshold levels, it will go into "blink-red" mode and will refuse to do its coloring thing.
- Potentiometer for manual adjustments.
- A battery. I used a Lipo 11.1, 2500mAh battery which was almost gone for trash because it couldn't serve my airplanes anymore.


Materials required:

- A suitable box
- Vacuum tubes (don't need to be in working condition, just need to look pretty)
- RGB LEDs (One per tube)
- 330ohm resistors (15 of them or a resistor array as I used)
- Your favorite micro-controller (I went for an ATMEL Atmega 328).
- A 5v regulator
- A potentiometer (may be even buttons or an IR sensor)

Plan for it


Assemble the hardware. 


Leds are hot glued underneath the tubes:


Consider from my design that the three LEDs are in parallel, which means they show the exact same color at all times. The only one that's different is the center one, where I added an orange led for a cleaner orange tone.


Also consider that LEDs can be turned ON or OFF independently, reason why instead of a common ground connection they go to digital output pins. This also means that to power up each LED you need to bring that ground pin to LOW.


Let's take a closer look at the power regulator:


Pick your colors.

I wrote some code to manually change each color so I could visualize the mix I liked the best, and wrote those values down.


Enjoy your relaxing toy.


Use the potentiometer to increase or decrease the speed at which colors change. I went from somewhat fast all the way down to super-super slow. It will take several minutes to change to the next color. This is for a more realistic approach.

Arduino Code


// PIN DEFINITION
int redPin = 9;
int greenPin = 10;
int bluePin = 11;
int orangePin = 6;
int tubesmaPin =5;
int tubelarPin = 4;
int tubemedPin = 3;
int potPin = A2;
int buttonPin = 7;
int battPin = A1;
// OTHER VARIABLES
int maxbattery = 283;  // reading at which the battery is at 12.3V, which we consider full capaciity.
int minbattery = 244;  // reading at which the battery is at 10.8V, level at which we will consider the battery needs urgent recharging.
int boot_check = 1;
long previousMillis = 0;        // will store last time LED was updated
int redvalue = 0;  // Stores the current value of the color
int greenvalue = 0;
int bluevalue = 0;
int orangevalue = 0;
int potenciometro;
int transitfinished =0;
// __________________________________________________________________________________________________________________________________________________________________
void setup()
{
  Serial.begin(9600);
  pinMode(redPin, OUTPUT);
  pinMode(greenPin, OUTPUT);
  pinMode(bluePin, OUTPUT);
  pinMode(orangePin, OUTPUT);
  pinMode(tubesmaPin, OUTPUT);
  pinMode(tubelarPin, OUTPUT);
  pinMode(tubemedPin, OUTPUT);
  pinMode(potPin, INPUT);
  pinMode(buttonPin, INPUT);
  shutdown_tubes();
}
// __________________________________________________________________________________________________________________________________________________________________
void loop()
{
  go_automatic();
  //check_voltage();
  //while(digitalRead(buttonPin)) { go_manual(); }
  //show_dead_battery();
  //delay(1000); // delay after the press of the button
  //while (digitalRead(buttonPin)){ go_automatic();}
  //delay(1000);
}
// __________________________________________________________________________________________________________________________________________________________________
// __________________________________________________________________________________________________________________________________________________________________
/*
System health functions
*/
// __________________________________________________________________________________________________________________________________________________________________
void check_voltage() // blinks one tube with the status of the battery: Green = 12.4v, Red is below 11.1v and needs recharging
{
  int battvalue = 0; // stores the reading on the battery
  battvalue = analogRead(battPin);
  battvalue = map(battvalue,minbattery,maxbattery,0,255);
  if (battvalue<0) battvalue = 0;
  if (battvalue>255) battvalue = 255;
  Serial.print("battvalue:");
  Serial.println(battvalue);
  if (battvalue<1) show_dead_battery();
  if (boot_check == 1)  //Does this only once when booting.
    {
      shutdown_tubes();
      // green = full, red = depleted.
      setColor(255-battvalue,battvalue,0,0);
      digitalWrite(tubesmaPin,LOW); // Activates the small tube
      delay(2000);
      digitalWrite(tubesmaPin,HIGH); // Shuts the tube down
      delay(500);
      setColor(0,0,0,0);
      boot_check = 0;
    }
}
// __________________________________________________________________________________________________________________________________________________________________
void show_dead_battery()  // Breathes red tube FOR EVER, nothing else.
{
  shutdown_tubes(); // Shuts all the tubes down
  setColor(0,0,0,0);
  digitalWrite(tubesmaPin,LOW); // Activates the small tube by bringing the cathode LOW.
  int destination = 255;
  while(1)
  {
      if (redvalue==0) destination = 255;
      transit_color(3,destination,0,0,0);
      if (redvalue==255) destination = 0;
  }
}
// __________________________________________________________________________________________________________________________________________________________________
/*
Functions involving LED activity
*/
// __________________________________________________________________________________________________________________________________________________________________
void setColor(int red, int green, int blue, int orange)
{
  analogWrite(redPin, red);
  analogWrite(greenPin, green);
  analogWrite(bluePin, blue);
  analogWrite(orangePin, orange);
  // let's reflect the current values in the variables
  redvalue=red;
  greenvalue=green;
  bluevalue=blue;
  orangevalue=orange;
}
// __________________________________________________________________________________________________________________________________________________________________
void transit_color(int transitspeed, int red, int green, int blue, int orange)
{
  unsigned long currentMillis = millis();
  if((currentMillis - previousMillis) > transitspeed) //If transitspeed = 12 implies approx 3 sec in raising a led from 0 to 255
    {
        // save the last time I adjusted the LEDs
        previousMillis = currentMillis;
        if (redvalue<red) redvalue++;
        if (redvalue>red) redvalue--;
        if (greenvalue<green) greenvalue++;
        if (greenvalue>green) greenvalue--;
        if (bluevalue<blue) bluevalue++;
        if (bluevalue>blue) bluevalue--;
        if (orangevalue<orange) orangevalue++;
        if (orangevalue>orange) orangevalue--;
        setColor(redvalue,greenvalue,bluevalue,orangevalue);
        if (redvalue==red && greenvalue==green && bluevalue==blue && orangevalue==orange) transitfinished = 1;
    }
}
// __________________________________________________________________________________________________________________________________________________________________
void shutdown_tubes() // Shuts the tubes to dark by raising the cathode to high so no current flows regardles of the RGB pins
{
  digitalWrite(tubesmaPin,HIGH);
  digitalWrite(tubemedPin,HIGH);
  digitalWrite(tubelarPin,HIGH);
  setColor(0,0,0,0);
}
/*
Blinking and Color Routines
*/
// __________________________________________________________________________________________________________________________________________________________________
void go_automatic()
{
  breathe(255,0,140,0);
  breathe(0,255,160,0);
  breathe(255,30,0,255);
  breathe(150,10,255,0);
  breathe(0,0,255,0);
  breathe(0,0,0,255);
  breathe(0,0,255,255);
}
// __________________________________________________________________________________________________________________________________________________________________
void go_manual()
{
  while(digitalRead(buttonPin))
    {
      potenciometro = analogRead(potPin);
      redvalue = map(potenciometro, 0, 1023, 0, 255);
      Serial.print("red:");
      Serial.println(redvalue);
      setColor(redvalue, greenvalue, bluevalue, orangevalue);
    }
  delay(500);
  while(digitalRead(buttonPin))
    {
      potenciometro = analogRead(potPin);
      greenvalue = map(potenciometro, 0, 1023, 0, 255);
      Serial.print("green:");
      Serial.println(greenvalue);
      setColor(redvalue, greenvalue, bluevalue, orangevalue);
    }
  delay(500);
  while(digitalRead(buttonPin))
    {
      potenciometro = analogRead(potPin);
      bluevalue = map(potenciometro, 0, 1023, 0, 255);
      Serial.print("blue:");
      Serial.println(bluevalue);
      setColor(redvalue, greenvalue, bluevalue, orangevalue);
    }
  delay(500);
    while(digitalRead(buttonPin))
    {
      potenciometro = analogRead(potPin);
      orangevalue = map(potenciometro, 0, 1023, 0, 255);
      Serial.print("orange:");
      Serial.println(orangevalue);
      setColor(redvalue, greenvalue, bluevalue, orangevalue);
    }
  delay(500);
}
// __________________________________________________________________________________________________________________________________________________________________
void breathe(int red, int green, int blue, int orange)
{
  transitfinished=0;
  while (transitfinished==0)
  {
    potenciometro = analogRead(potPin);
    potenciometro = map(potenciometro,0,1023,6000,10); // Sets the transition speed with the potentiometer
    transit_color(potenciometro,red,green,blue,orange);
    check_voltage();
    digitalWrite(tubesmaPin,LOW);
    digitalWrite(tubemedPin,LOW);
    digitalWrite(tubelarPin,LOW);
  }
}
// __________________________________________________________________________________________________________________________________________________________________